


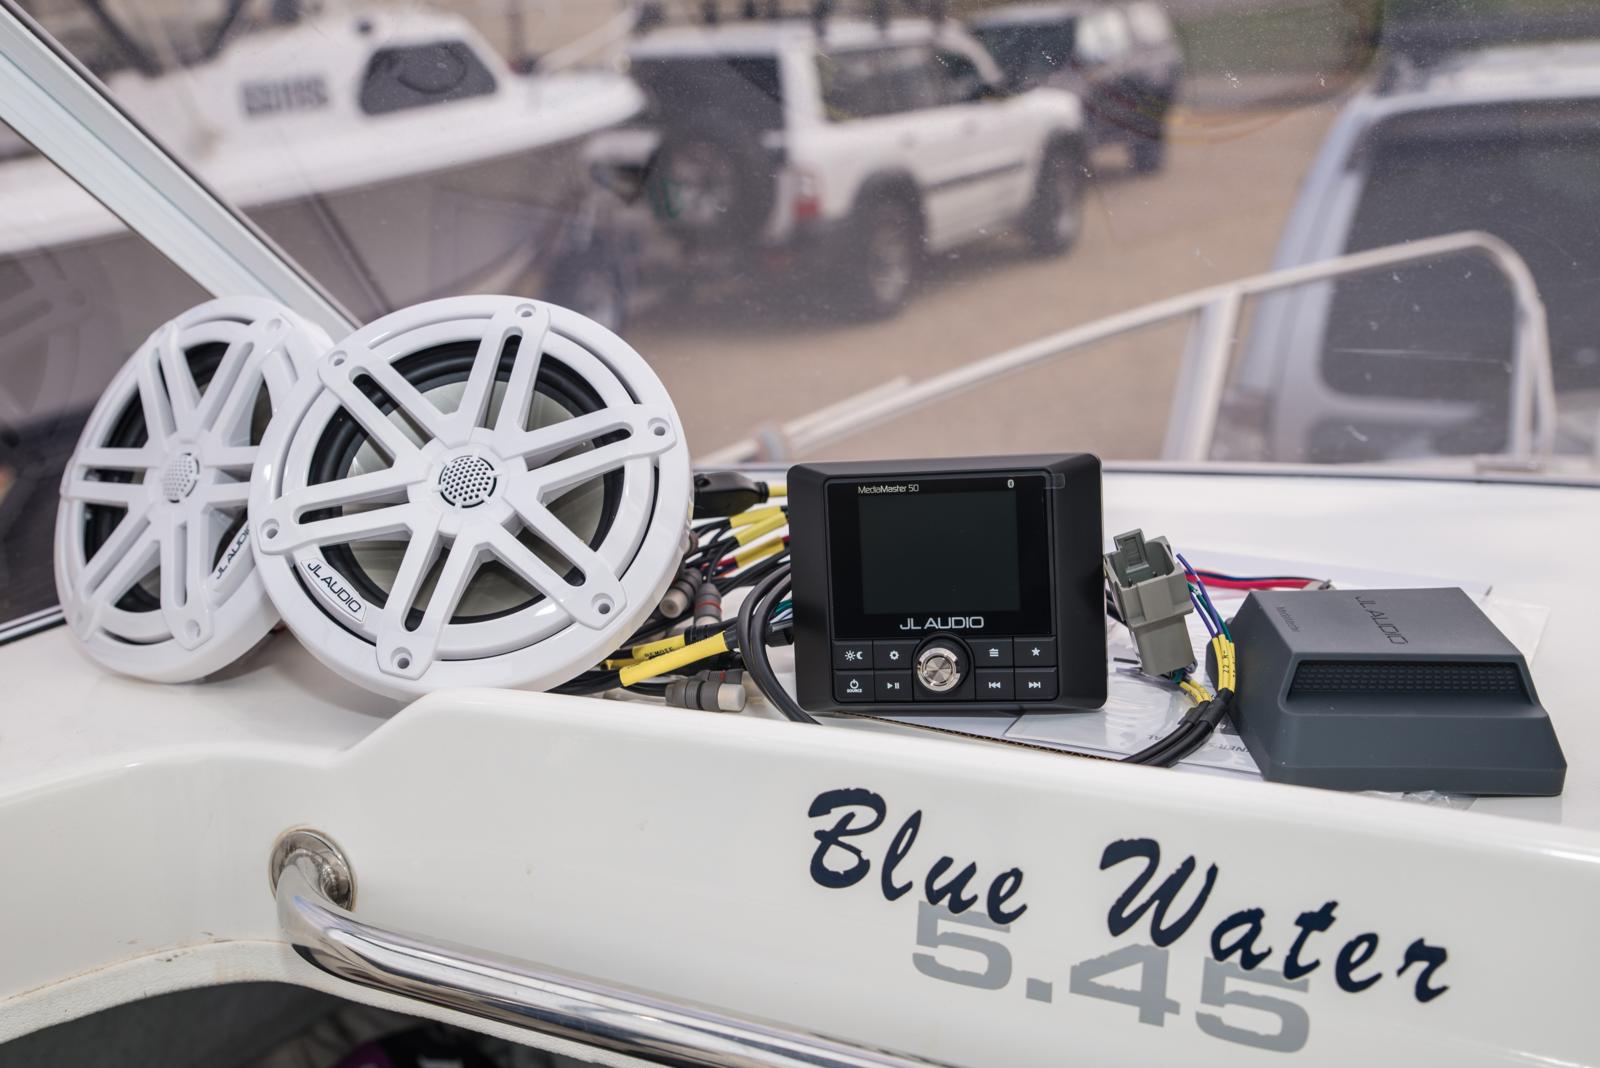
AFTER recently replacing my old sounder with a Lowrance HDS Live I found myself soon toying with the idea of adding a stereo system. Whilst I admittedly appreciate the serenity and tranquillity that we get to experience through our fishing exploits there are certainly days or trips where I really do just want to strip back the seriousness of it all and crank some tunes! Enter JL Audio and the initial idea quickly snowballed into motion. Before I knew it I had settled on a JL Audio MM50 stereo. This weatherproof head unit was truly hard to look past when considering the overall aesthetics, user-friendly operation and extensive connectivity options including compatibility with the HDS Live through NMEA 2000 networking. Claiming a dust and water-resistant IP66 rating also allowed it to be mounted on the dash within reach of our driver’s seat where it may cop the odd bit of salt spray. To accompany the MM50 I chose a pair of sleek looking 6.5 inch JL Audio M3-650X-S marine speakers. Their modern sport grille design was bound to look great on any mounting surface and ultimately provided the perfect match to our fibreglass boat, not to mention they are manufactured using corrosion and UV-resistant materials meaning they can sit out on deck without too much concern. Now the M3-650’s are designed to benefit from the addition of a JL Audio marine amplifier to deliver extra power and optimal performance along with sub-woofer connectivity if a bit more doof-doof is desired for the more serious sound connoisseur. These speakers however can also be operated solely with the power of the MM50 head unit and this is most likely to be the preference for most punters entering or re-entering the marine stereo world, including myself. I’d be lying if I said the addition of an amp and extra speakers wasn’t a tempting option but for now I was happy to make do with a basic setup to get me started and back into the music when out on the water. With this in mind and a few boxes delivered by the friendly postman it was soon onto the installation process in order to get things well and truly happening.
Speaker Mounting
Installing a JL Audio marine system of this nature into a fibreglass boat can be a relatively straight forward process and is certainly achievable for most individuals. All you need is a basic understanding of working with gelcoat/fibreglass and some very simple electrical wiring skills. That being said I would certainly advocate to have a second pair of hands around to not only help with minor bits ‘n pieces and general safety given there will be power tools and electrical work involved, but also to provide a second set of eyes to double check things before committing to any modifications. I’m always very nervous when it comes to drilling and cutting out holes in my fibreglass boat as repair work within this realm is very expensive and not something I want to be accessing regularly. As the old saying goes, measure twice and cut once, and thankfully things went smoothly to plan.
As should be the case with any installation of electronics the battery is first turned off and disconnected for obvious safety reasons. It was then straight into the speaker cut-outs and we had the perfect place ear-marked part way along the side walls of the cockpit. This location allowed a good coverage of sound at both the helm and when out on deck wetting a line whilst it also allowed sufficient air flow behind the speakers. Good air flow is critical and operating the M3-650’s in a more enclosed space will certainly reduce their performance so take this into consideration when deciding on your own mounting location. The included template was marked out and we then went about cutting out the central hole with a jig-saw. This involved drilling out a few holes near the outer rim of the cut out, working our way up in drill size to prevent too much cracking or damage to the gelcoat, to then get the jig-saw blade in place to start cutting. A second pair of hands is useful here to operate a vacuum cleaner to suck up all the debris and dust that comes with cutting into gelcoat and fibreglass. After this the mounting holes were drilled out, once again working our way up in bit size. A handy tip here is to measure your drill bits against the size of the mounting screw. Go for a size just smaller than the screw to ensure that the hole won’t be too sloppy and the screw will bite in nicely. When it comes to screwing them in do it by hand and you shouldn’t run into too many problems. The risk of using a powered drill is cracking the gelcoat or even the plastic speaker rim if you drive the screw in too quickly.

Head Unit Install
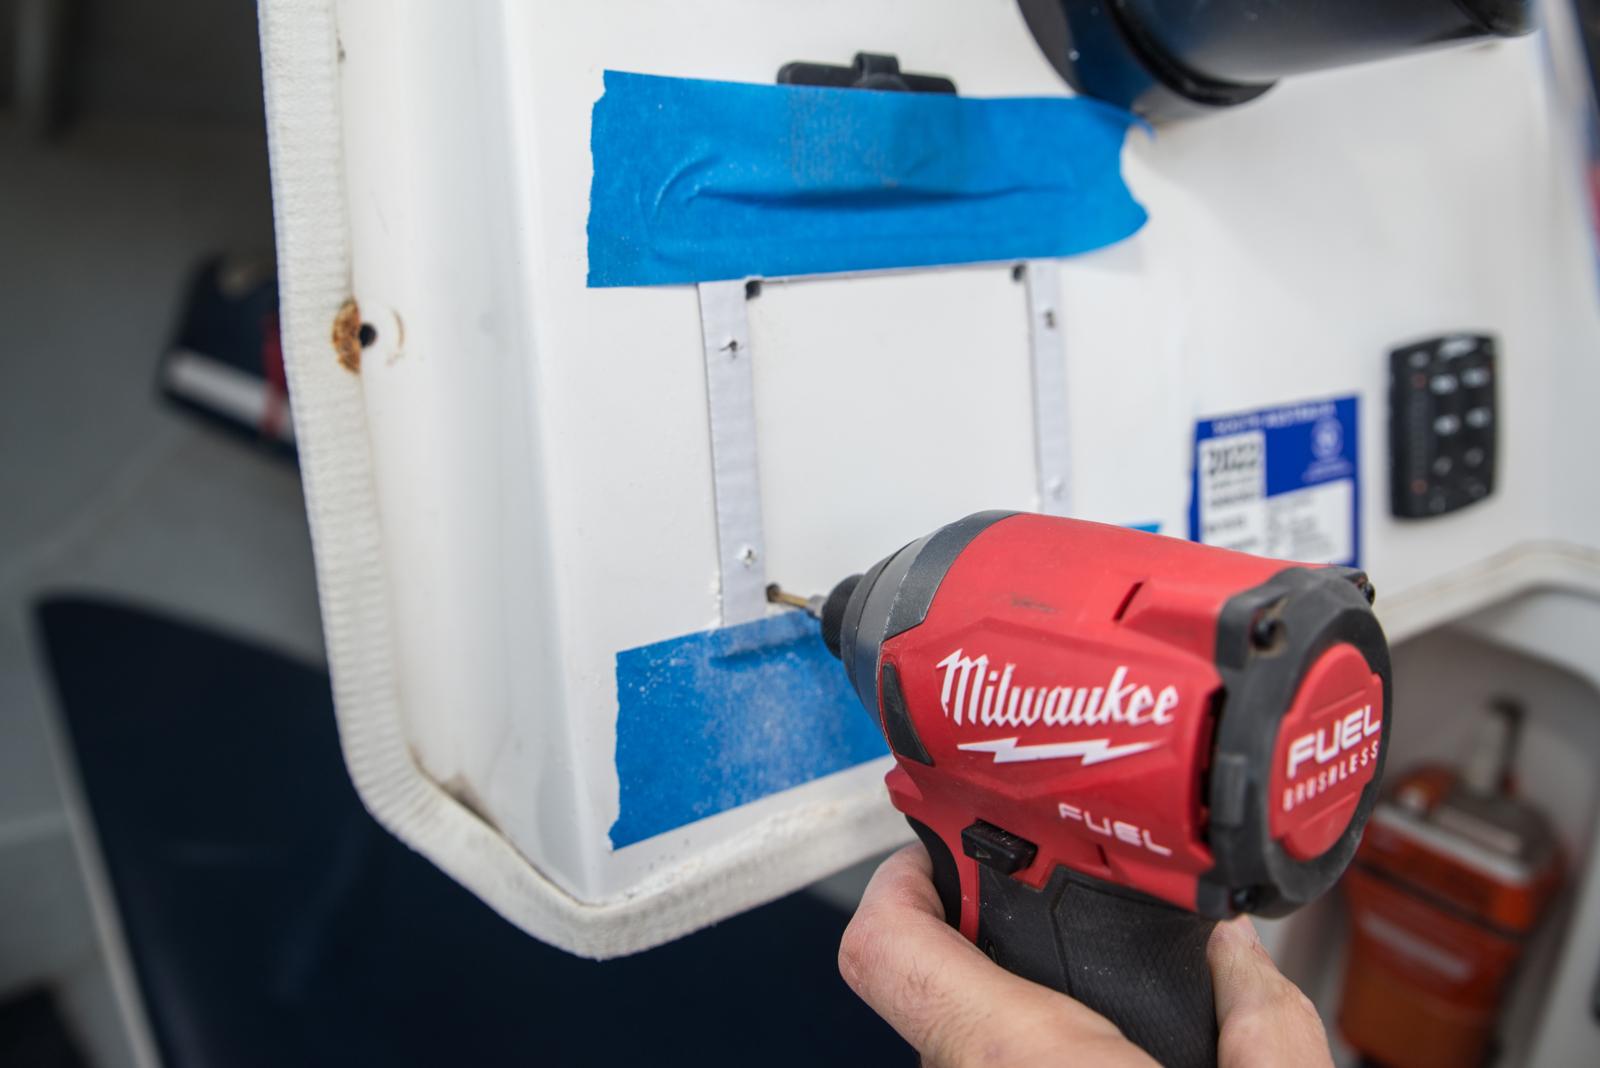
With the speakers in place it was then onto the head unit. Thankfully the MM50 is relatively non-invasive in size so we didn’t need to cut a massive hole out of the dash. The perfect location existed just below the steering wheel where I double checked there was enough clearance behind the dash and that it wouldn’t interfere with any other wires or structures. Once again an included mounting template was put into place and a similar process occurred to get the jig-saw in to proceed with the cut-out. A second pair of hands kept an eye on things from behind the dash ensuring any wires remained out of the way whilst also holding a vacuum at the same time to suck up most of the mess. The initial fit was a little too snug so a bit more of a tidy up with the jig-saw was required to get it nice and flush. The mounting holes were then piloted and drilled out and the head unit could then be put into place with the purpose designed rubber gasket to ensure no water could enter in behind the dash. Mounting screws were once again put in by hand and with all the hardware installed it was then time for the wire up.
Wiring Up
Each speaker requires a reasonable length of both positive and negative cabling in order to run them any reasonable distance away from the head unit. A few female spade lugs will also be required to plug onto the back of the speakers and I opted for a fully insulated version that protected the crimped wire join through a self-sealing heat shrink process. Alternatively you could solder the wires together and cover with standard heat shrink. But either way when it comes to any boat wiring you really do want to ensure that all of your connections are as watertight as possible to prevent any dreaded corrosion finding its way in. At the head unit end these same positive and negative wires needed to be connected into the wiring harness Zone 1 speaker outputs which are marked accordingly ie Zone 1 Left Speaker Positive, Zone 1 Left Speaker Negative. This is outlined pretty clearly in the instruction manual to help avoid any confusion. Only the one single zone is required here when running a simple setup of two speakers so zone 2 is left untouched. Once again I used a fully insulated crimp connecter to make an in-line sealed join between the wires.
A similar process was then undertaken to run the MM50 power connection wires to my boat’s accessory terminals in order to operate the unit. This will vary depending on your setup but for me it involved extending both the positive (red) and ground (black) wires from the head unit’s power harness and crimping on some ring eyelet terminals to the other end before placing onto my accessory power terminals. An orange illumination cable in the power harness was also extended and joined into the navigational lights spade lug behind the main switch panel. This is a very cool addition that allows your JL MM50 head unit to automatically switch into night mode when the nav lights are turned on! It is not essential however and you can still toggle between day/night mode with the simple press of a button on the head unit itself. Most of this stuff does require a basic knowledge and understanding of electronics and connections and although it is outlined in the instruction manual if you really aren’t too confident then it goes without saying to seek professional help. Don’t risk your equipment or personal safety!
Finally it was simple plug and play for the existing AM/FM radio antenna cable to slot straight into the MM50 antenna output plug which would allow quick access for to up to 18 saved radio stations. An NMEA extension cable also joined the stereo to the existing NMEA backbone behind my dash. Once the battery power was re-connected we could then fire it up and make sure everything was in good working order.
Performance
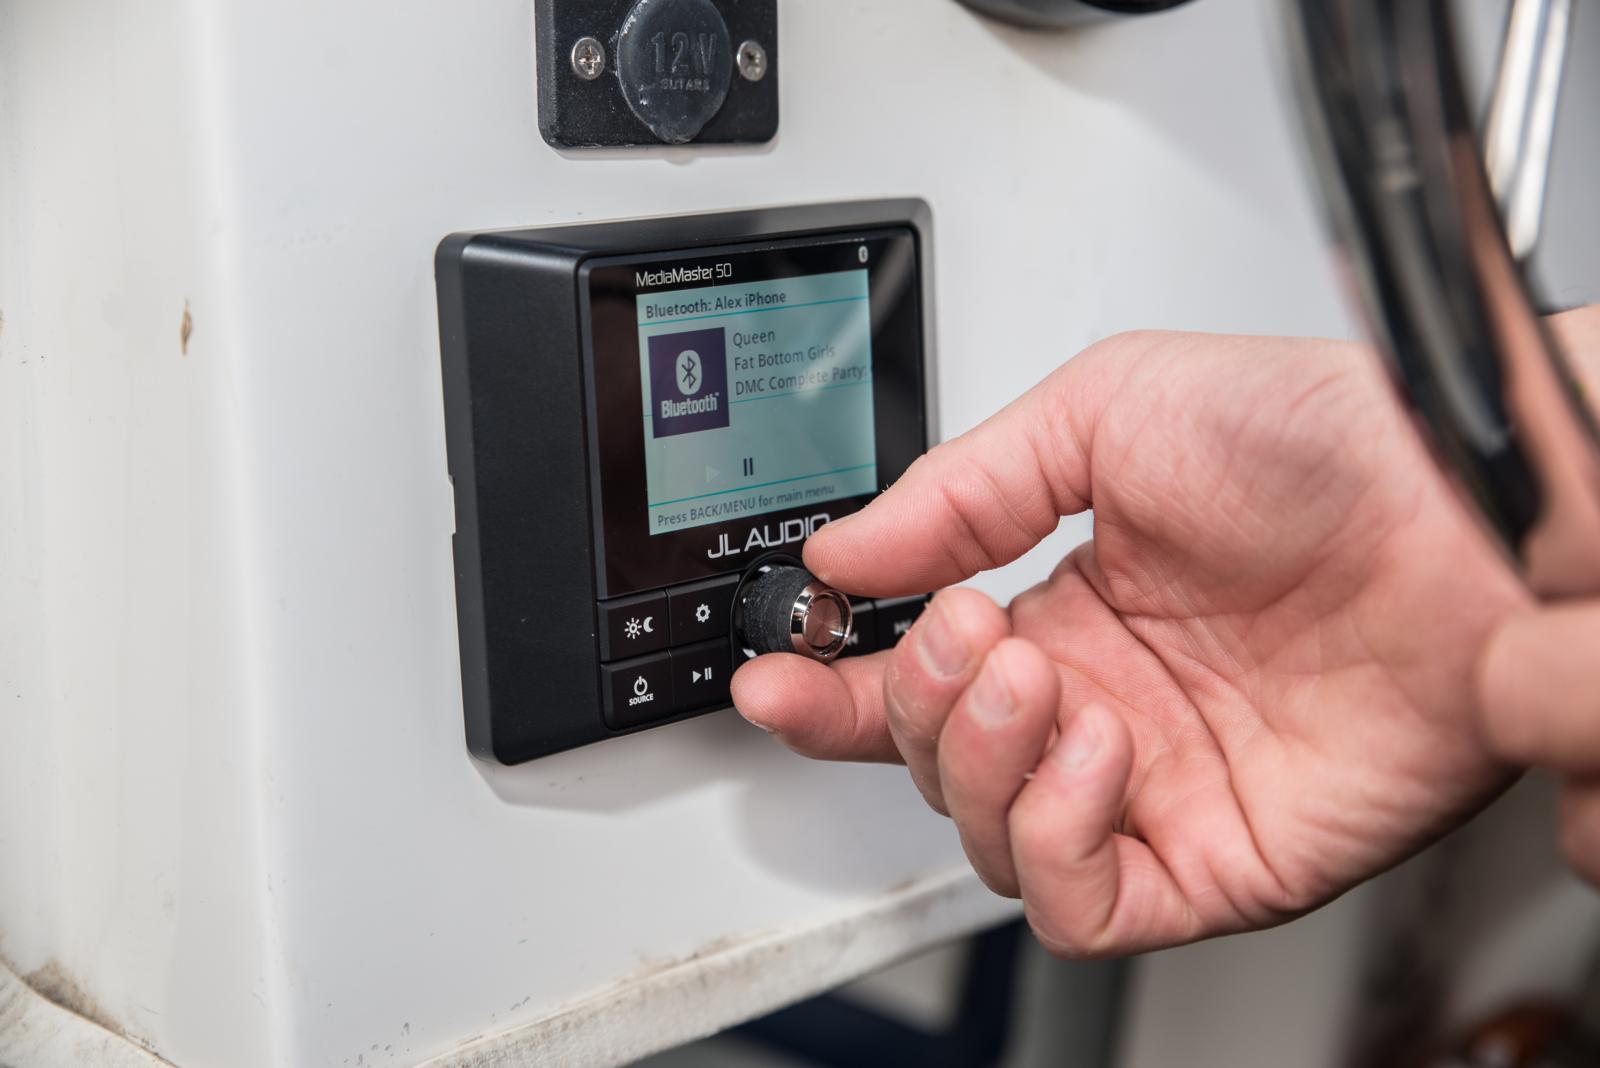
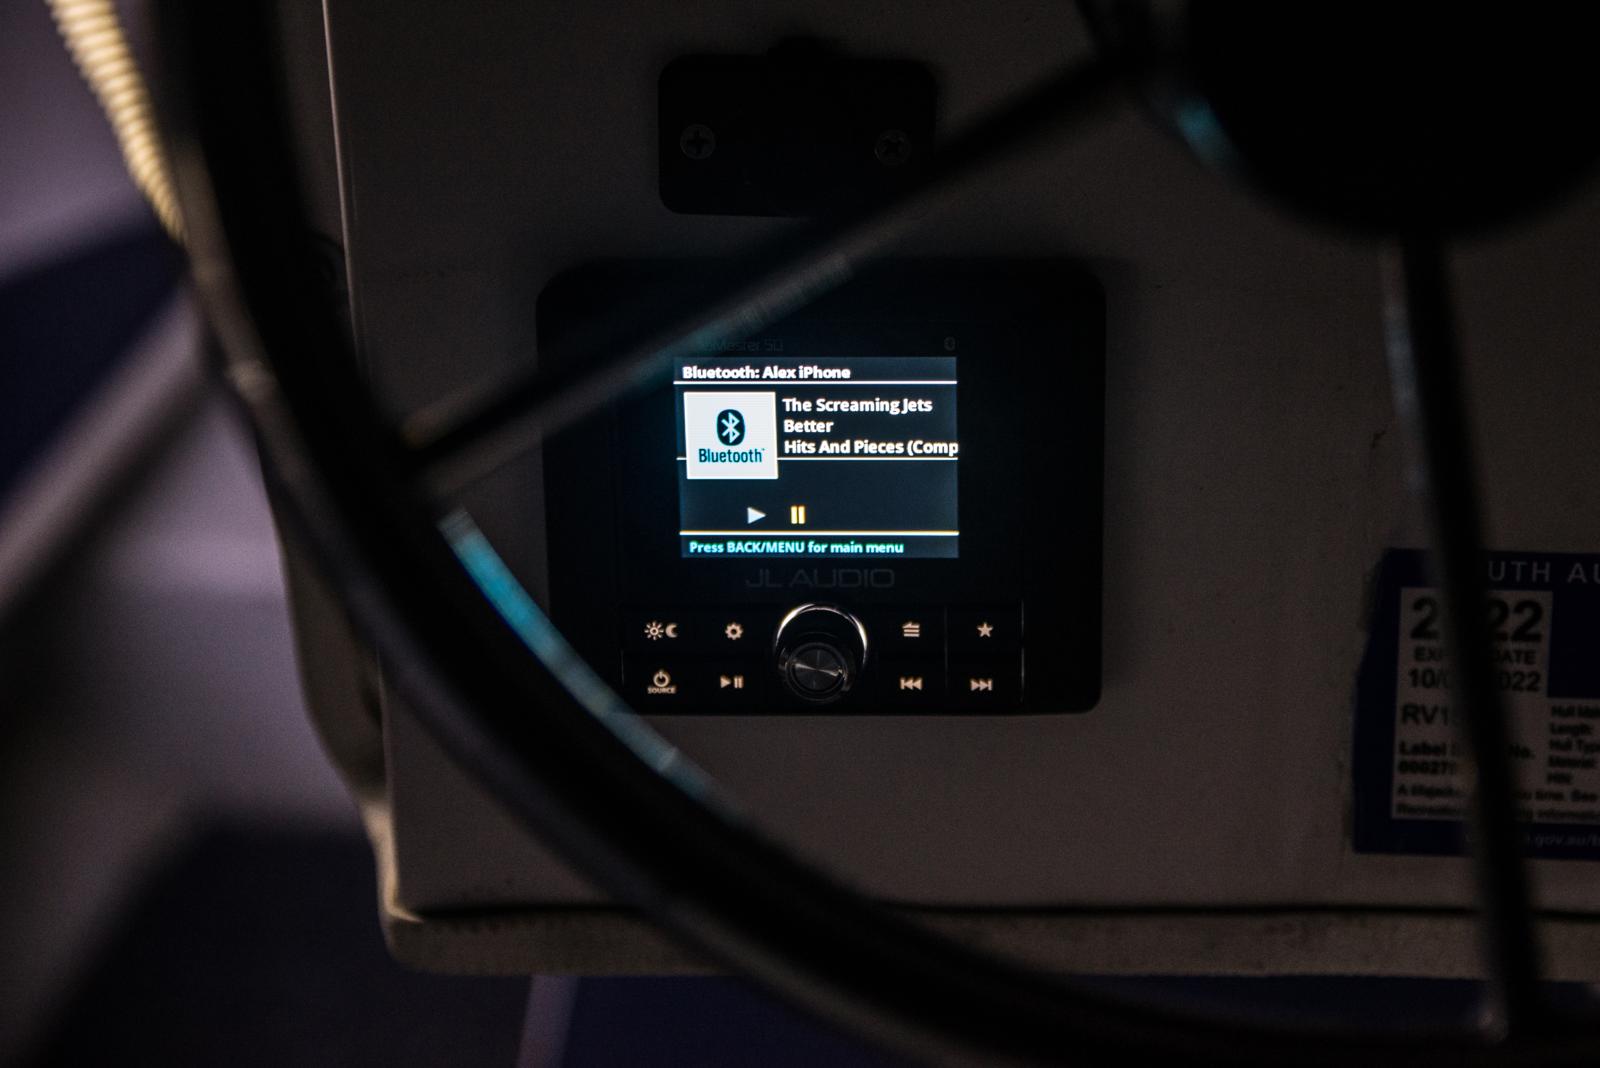
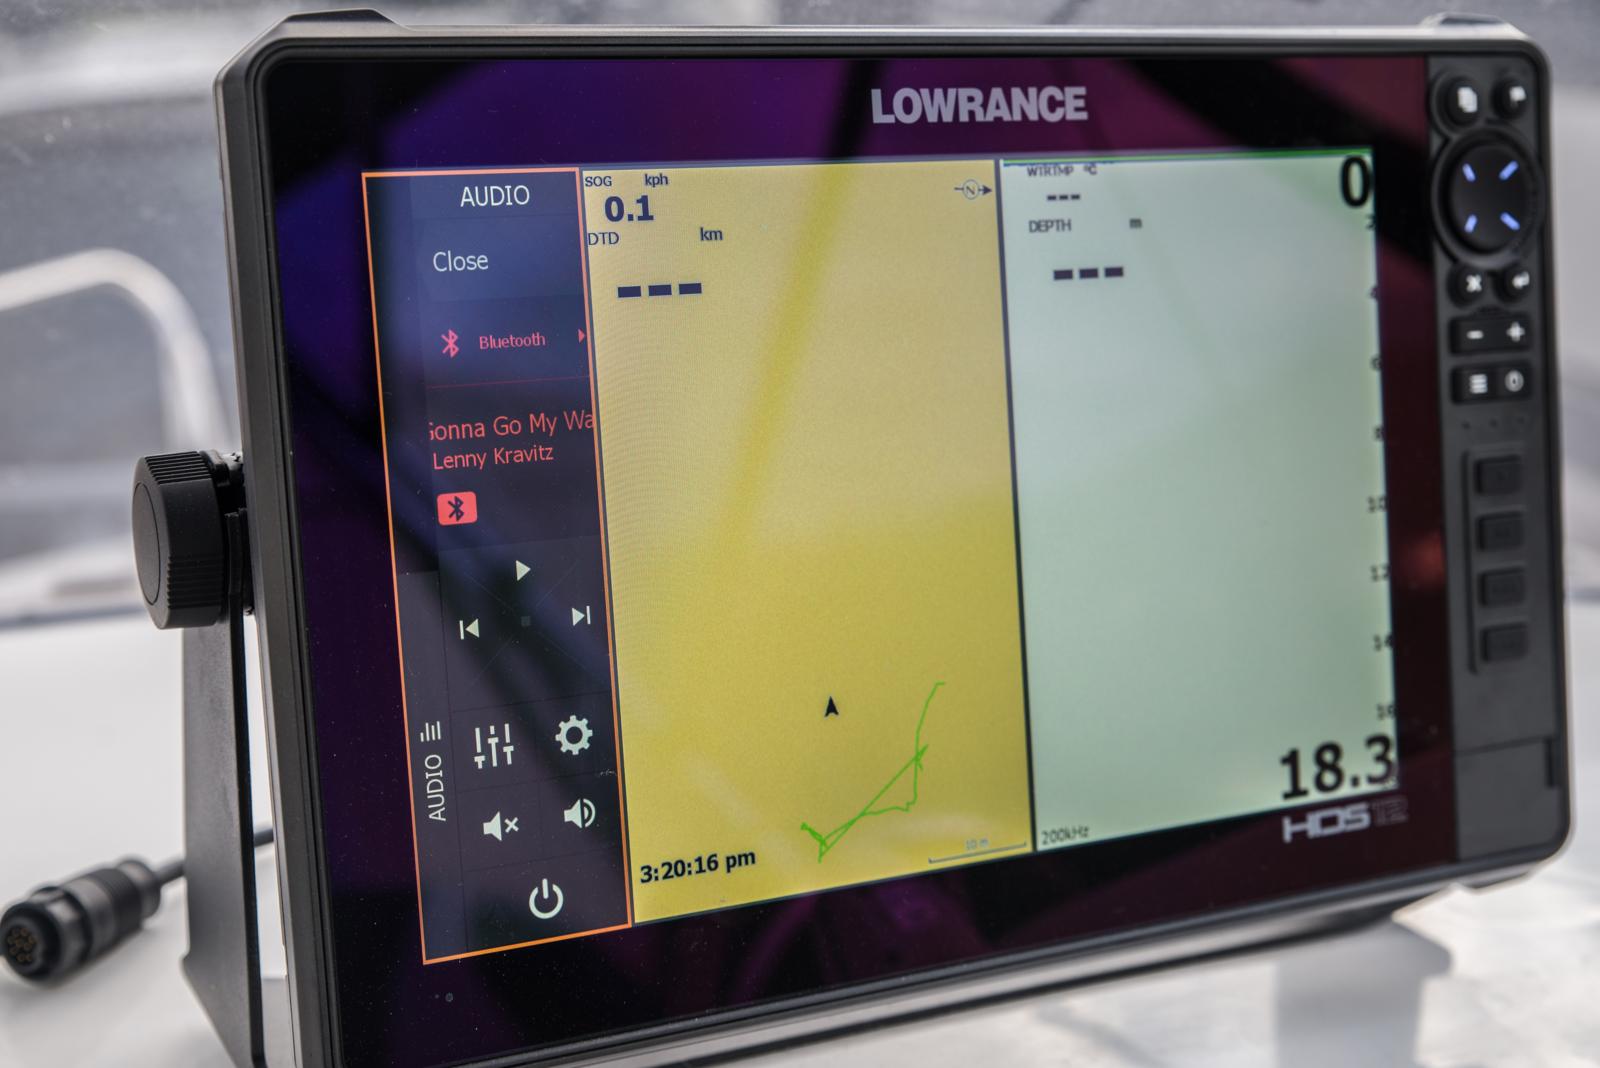
My initial impression was simply wow! Basic user-friendly functions were obvious from the get go and there was no over-complicating things when it came to navigating the menus and buttons. The Bluetooth connection was seamless, working straight away with no signal drop outs whatsoever up to 35ft away which was a breath of fresh air when it came to forgoing the need for any cables or plugging in of phones. Although the USB harness output does run the option of charging your phone if needed which is cool to know. The 2.8-inch full colour LCD screen lit up nicely and was easily visible in both day and night mode and I must admit the auto illumination function was well worth connecting to help with this after running the stereo under the cover of darkness. Linking in with the Lowrance HDS Live was basically instant with no complicated installation process required. A slim-line audio panel appeared on the far left of screen and when selected this extended into a pop-out box to mirror the audio function controls on offer through the MM50. Whilst this may not be completely necessary for our setup given the stereo is mounted fairly close to the sounder I can see how this connectivity would be extremely handy for those who may need to mount the JL Audio head unit in a location that is not easily accessible like somewhere in the cabin. Alternatively if you have a second sounder installed somewhere else in the boat, ie. up on the bow, you are still able to control the music through this despite not being within reach of the JL head unit. And if a compatible Lowrance unit is not an option then you can instead purchase and connect a JL Audio remote controller. Sound quality was crystal clear and all I expected it to be especially when considering there was no amplifier installed. But this was no real surprise given that the JL Audio name is certainly no slouch in the stereo industry, let alone the marine world. The only problem I have now is to demonstrate a bit of self-restraint with the ever-present temptation of speaker and amplifier additions. Time will tell I guess!


